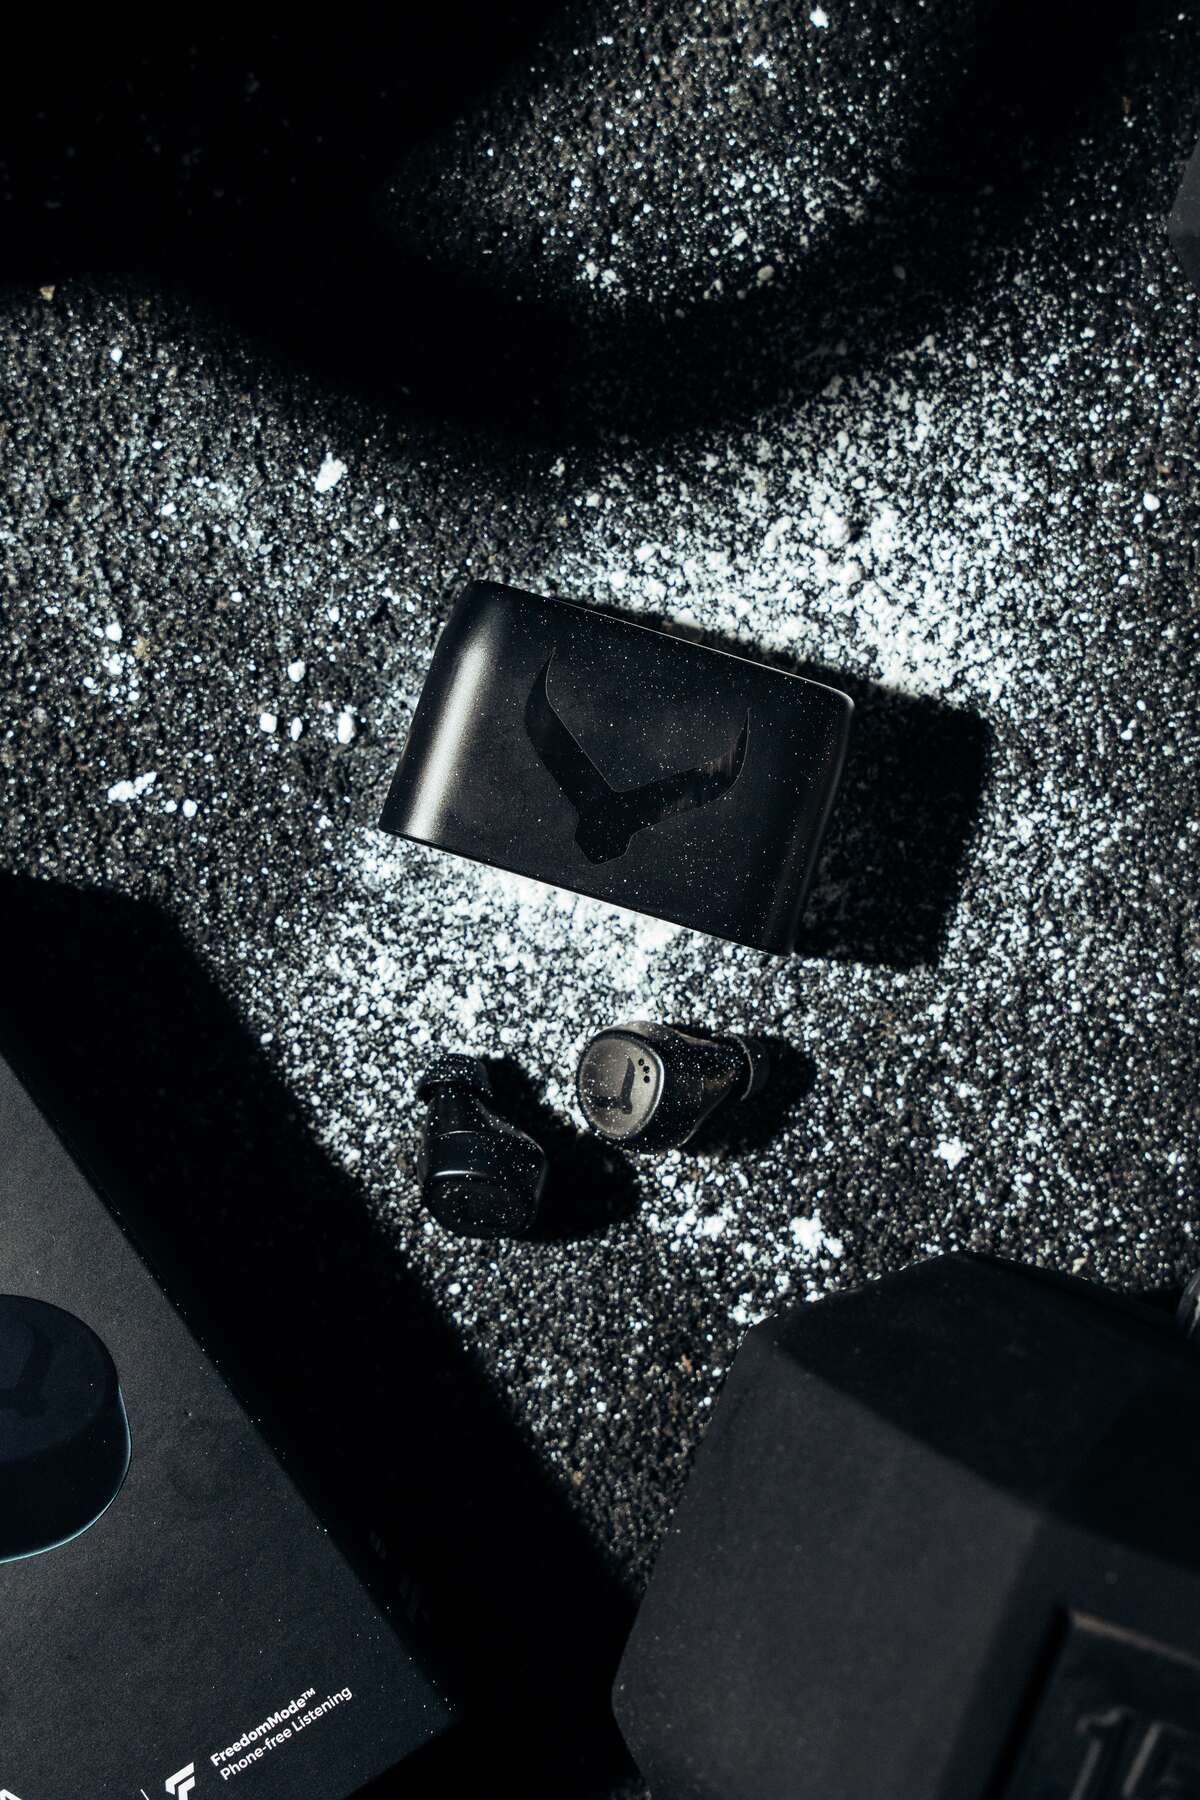
Gym earbuds have a hard life. They spend an hour in a hot, sweaty ear, get handled with chalky fingers, go back into a case still damp, and then sit in a gym bag next to wet kit until tomorrow. Most people never clean them at all until the sound goes muffled or one bud stops charging.
A few minutes of care after each session and ten minutes once a week makes a real difference to how they sound, how they fit and how long they last. This is a simple routine for people who train most days. It works for most in-ear designs, but always check your manufacturer's care instructions first, because materials and openings differ between models.
What you need
Nothing specialist. Keep a small kit in your bag or by the charger.
- A soft, dry, lint-free cloth. A microfibre glasses cloth is ideal.
- A soft, dry brush. A clean, soft toothbrush or a small make-up brush works well for mesh and grilles.
- Cotton buds. For the case only, never for your ears.
- Isopropyl alcohol wipes or a little isopropyl alcohol on a cloth, if your manufacturer says it is safe for the outer shell. Many do; some do not.
- Mild soap and warm water for removable silicone ear tips, if your manufacturer allows it.
- A wooden toothpick or a plastic tool for lifting dried gunk out of seams. Avoid metal.
What to avoid: running the earbuds themselves under a tap, soaking them, using bleach, harsh household cleaners or anything abrasive, and pushing anything sharp into the speaker mesh. Even water-resistant earbuds are rated for specific test conditions, not for scrubbing.
After every session: the two minute reset
This is the habit that does most of the work.
- Wipe each bud with a dry cloth before it goes back in the case. Sweat dries into a salty film that collects dust and chalk, and it is much easier to remove while still damp.
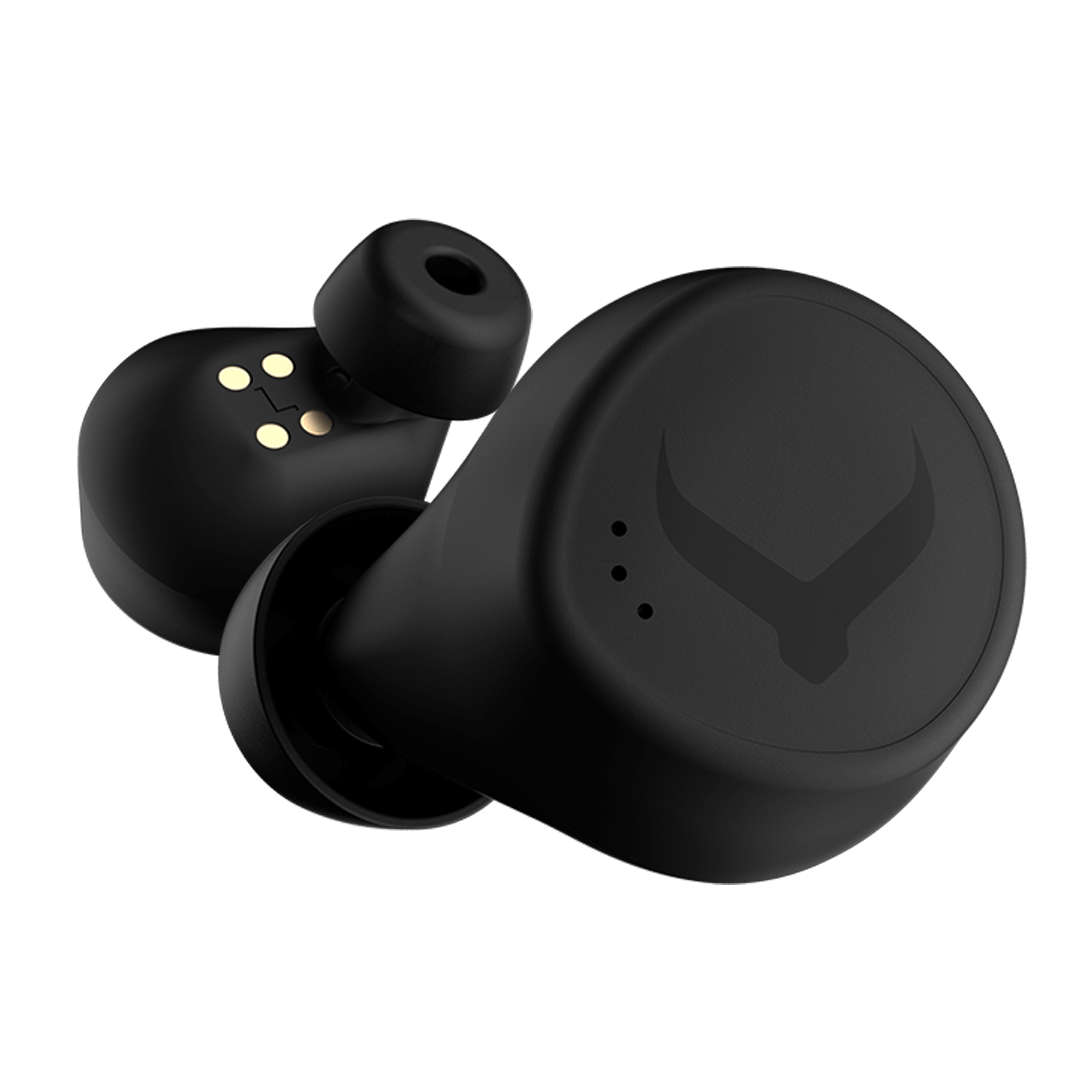
- Wipe the charging contacts on the buds, the small metal points that touch the case. Sweat residue here is a common cause of buds that will not charge.
- Dry your hands first. Chalk and sweat on your fingers end up straight back on the buds and inside the case.
- Leave the case open for a few minutes when you get home, so any moisture can escape rather than being sealed in overnight.
- Keep the case out of the wet kit compartment. A side pocket away from damp towels and shoes keeps it drier and cleaner.
Once a week: the deeper clean
Set a regular slot, such as Sunday evening when you charge everything for the week.
1. Ear tips
Remove the tips, if they come off. Check your manual for how; most pull straight off with a gentle twist. Wash silicone tips in warm, soapy water, rinse them well and let them dry completely on a cloth before refitting. Foam tips generally should not be washed; wipe them gently and replace them when they look tired.
While the tips are off, look at the nozzle underneath. This is where the sound comes out, usually behind a fine mesh. If you see wax or debris, use a dry, soft brush, angling the nozzle downwards so anything you dislodge falls out rather than in.
2. The shell
Wipe the outer shell with a cloth, slightly dampened with water or isopropyl alcohol if your manufacturer allows. Pay attention to seams and the area around any touch controls, where sweat and skin oils build up. Use a wooden toothpick to lift anything stuck in a seam.
3. Charging contacts
Clean the contacts on both the buds and in the case with a dry cotton bud, or one very lightly dampened with isopropyl alcohol. Let them dry fully before putting the buds back. If the contacts look discoloured or dull, a gentle wipe is often enough to restore a reliable connection.
4. The case
Cases collect more grime than people realise: chalk, lint, sweat and dust all end up in the cups where the buds sit. Use a dry cotton bud and a soft brush to clear the cups, then wipe the outside and the hinge area with a lightly dampened cloth. Keep moisture well away from the charging port.
5. Refit and check
Refit the dry tips, put the buds back in the case and confirm both show as charging. Play something you know well and check both sides sound the same. A bud that suddenly sounds quieter or duller than the other usually has a blocked nozzle mesh.
Special cases
After a very wet session
A run in heavy rain or a session that leaves you soaked needs a little more than the usual wipe. Dry the buds thoroughly with a cloth, paying attention to the nozzle and contacts, and let them air dry for a while before they go back in the case. Shake out any water trapped under the tips by removing the tips and letting both parts dry separately. Do not use a hairdryer, radiator or oven to speed things up; direct heat can damage batteries and seals.
On heavy chalk days
Gymnastics and heavy barbell days leave chalk everywhere. Chalk is drying and gritty, and it works its way into seams and case hinges. Brush it off with a dry, soft brush rather than wiping it into a paste with a damp cloth, then wipe the shell once the loose chalk has gone.
Between training blocks
If you are taking a week or two off, clean the buds and case fully, let everything dry, and store them somewhere cool and dry rather than in your gym bag. Check your manual for advice on storage charge levels; many manufacturers suggest not leaving batteries completely flat for long periods.
Signs your earbuds need attention
- Muffled or quieter sound on one side. Usually wax or debris on the nozzle mesh.
- One bud not charging, or charging intermittently. Often dirty contacts, in the case or on the bud.
- Tips that feel slippery or look discoloured. Time to wash or replace them. Worn tips also fit worse.
- A smell from the case. Moisture and sweat have been sealed in. Clean it, then start leaving it open after sessions.
- Touch controls misbehaving. Residue on the surface can confuse touch sensors. Clean and dry the shell.
When to replace ear tips
Ear tips are a consumable, like the grip tape on a pull-up bar. Silicone tips last a long time with weekly washing, but they gradually lose their spring and grip. If a tip no longer bounces back when squeezed, has torn, or has stopped holding a seal, replace it. Many manufacturers sell replacement tips, and it is worth keeping a spare set in your bag.
Make it part of the routine
The easiest way to keep this going is to attach it to something you already do. Wipe the buds as you take off your shoes after training. Do the weekly clean when you plan your sessions for the week. It is the same logic as cleaning chalk off a barbell or washing a lifting belt: the kit lasts longer and works better when you look after it.
Cleaning will not save a pair that simply was not built for the gym, and if you are replacing earbuds every few months, it is worth reading why your earbuds keep breaking. For what water and dust ratings do and do not mean, see IP68 vs IPX7 explained. Our own TZ7 Ultra is rated IP68, waterproof to 2m, and it still deserves a wipe after every session.
Introducing the ultimate workout earbuds.